If you own a Keurig coffee maker, you know how important it is to keep it running smoothly. One key part that often gets overlooked is the needle maintenance tool.
When this tiny tool gets clogged or dirty, it can affect your coffee’s taste and even cause brewing problems. But don’t worry—you’re about to learn simple steps to clean your Keurig needle maintenance tool quickly and effectively. By taking care of this small but crucial part, you’ll enjoy better coffee every time.
Keep reading to discover how easy it is to keep your Keurig in top shape.

Credit: www.yahoo.com
Keurig Needle Basics
The Keurig needle plays a key role in brewing your coffee. It pierces the K-Cup to allow hot water flow. Keeping this needle clean ensures fresh coffee every time. Understanding the needle’s function helps in proper maintenance. The needle is small but essential for your Keurig’s performance.
Purpose Of The Needle
The needle punctures the K-Cup lid to release water inside. It allows hot water to pass through coffee grounds. This process extracts flavor and brews your cup quickly. Without the needle, water cannot flow through the K-Cup. It also controls the water pressure for perfect brewing.
Common Issues
Clogged needles cause weak or no coffee flow. Coffee grounds or debris block the tiny holes in the needle. This leads to slow brewing or machine errors. Bent or damaged needles can also cause leaks or poor extraction. Regular cleaning prevents these problems and keeps your Keurig working well.
Tools Needed For Cleaning
Keeping your Keurig needle maintenance tool clean is essential for a smooth coffee-making experience. Having the right tools ready makes the cleaning process faster and more effective. Let’s look at what you need to gather before you start.
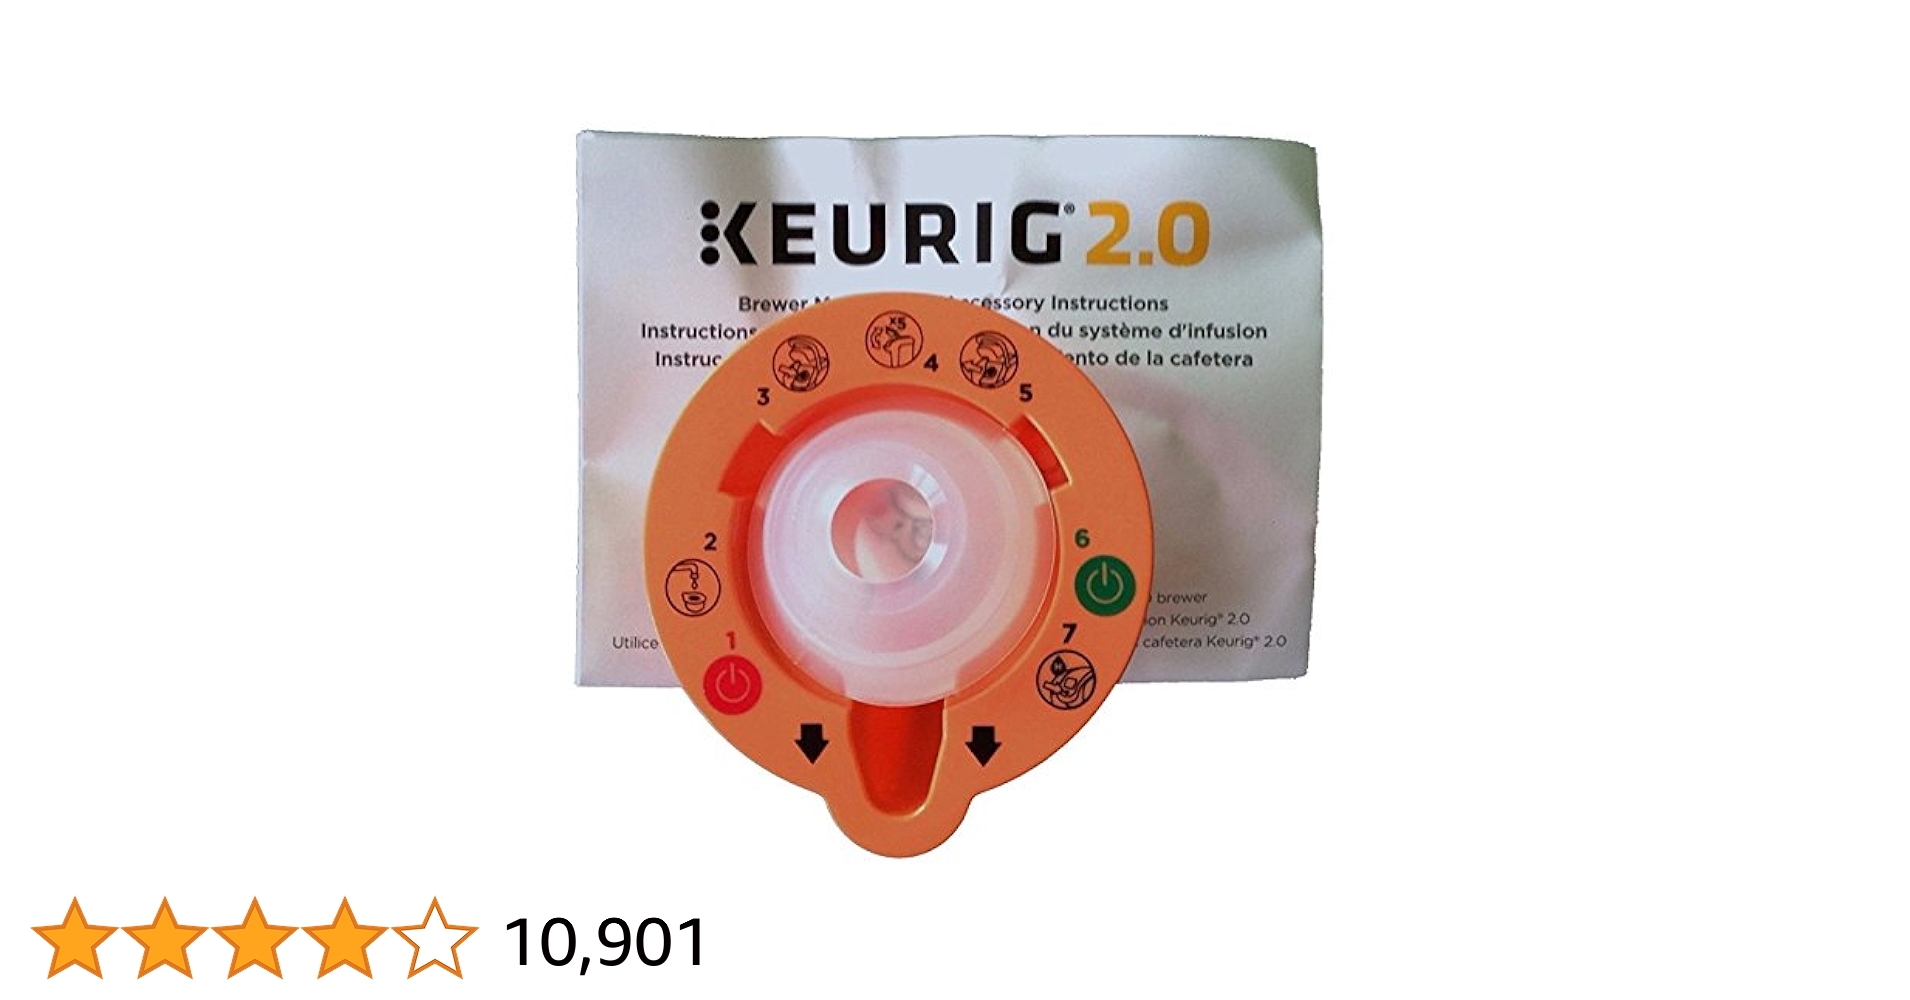
Keurig Needle Maintenance Tool
Your first and most important tool is the Keurig needle maintenance tool itself. This small device is designed specifically to clear clogs and debris from the needles in your coffee maker. Without it, you risk damaging the machine or not fully removing blockages.
Make sure the tool is free of any leftover coffee grounds or residue before you begin. A clean tool works better and helps avoid pushing dirt further into the machine.
Additional Cleaning Supplies
Besides the needle tool, a few simple household items can help you clean thoroughly. Gather a soft-bristled brush or an old toothbrush to scrub away stubborn debris gently.
You will also need some warm water and mild dish soap to rinse off the tool and any removable parts. For tough buildup, a small amount of white vinegar can break down mineral deposits effectively.
Don’t forget a clean cloth or paper towels for drying. Having these supplies within reach will make your cleaning process smoother and more efficient. What’s your current go-to cleaning supply? Maybe it’s time to upgrade your kit.
Step-by-step Cleaning Process
Keeping your Keurig needle clean is essential for a smooth brewing experience. The needle maintenance tool is designed to help you clear clogs and maintain optimal performance. Here’s a clear and simple process to clean the needle effectively, ensuring your coffee tastes fresh every time.
Removing The Needle
First, unplug your Keurig to avoid any accidents. Carefully open the top cover to access the needle area. Gently lift the needle using a small screwdriver or the edge of the maintenance tool, taking care not to bend or damage it.
Have you noticed any coffee grounds stuck around the needle? Removing the needle allows you to get a better look and ensures no residue blocks the flow.
Using The Maintenance Tool
Insert the maintenance tool’s thin, pointed end into the needle hole. Move it around slowly to dislodge any coffee grounds or build-up inside. You might feel some resistance, which means the tool is doing its job breaking through clogs.
Don’t rush this part—thorough cleaning here prevents future brewing issues. If the tool is not clearing the blockage, try gently twisting it to loosen stubborn debris.
Rinsing And Drying
After clearing the needle, rinse it under warm running water to wash away loosened coffee particles. Use a soft brush or cloth to clean the surrounding parts carefully. Dry everything completely before reassembling to avoid water damage or mold growth inside your machine.
Have you ever skipped drying and noticed a strange smell or poor coffee taste? Drying is a simple step that can save you from those annoying problems.

Credit: www2.ccipirineusmed.com
Cleaning Frequency Tips
Keeping your Keurig needle clean is essential for a smooth brewing experience. Knowing how often to clean it can save you from bitter coffee and machine issues. Let’s look at practical tips for deciding when and how frequently you should clean the needle using the maintenance tool.
Signs Needle Needs Cleaning
Is your coffee tasting off or weaker than usual? That could mean the needle is clogged. You might also notice slow brewing or water leaking around the pod area.
Another clear sign is if the coffee grounds are unevenly extracted or if your machine shows an error code related to water flow. These hints mean it’s time to clean the needle to restore proper function.
Recommended Cleaning Schedule
Cleaning the needle every 1 to 3 months is a good rule of thumb for most users. If you use your Keurig daily, aim for monthly cleaning to avoid buildup.
Less frequent users can stretch this to every 2 or 3 months, but don’t wait too long. Regular maintenance prevents blockages and keeps your coffee tasting fresh.
- Check the needle every couple of weeks to spot early signs of clogging.
- Use the maintenance tool carefully each time to avoid damaging the needle.
- Combine needle cleaning with a full machine descaling routine every few months.
Have you tracked how often your coffee quality dips? Use that as a personal guide to adjust your cleaning schedule. Staying proactive keeps your Keurig brewing like new.
Troubleshooting Needle Issues
Troubleshooting needle issues is essential to keep your Keurig running smoothly and to ensure every cup of coffee tastes just right. The needle is a small but critical part that punctures the K-Cup and allows water to flow through. If it’s clogged or damaged, your machine won’t work properly, and cleaning becomes a frustrating task.
Clogs And Blockages
Clogs happen when coffee grounds or mineral deposits build up inside the needle. This can stop water from flowing or cause weak coffee. You might notice slow brewing or a strange noise when your Keurig tries to puncture the K-Cup.
To fix clogs, use a needle maintenance tool or a paperclip to gently clear out debris. Run a few water-only brew cycles after cleaning to flush out any remaining particles. Have you checked your water filter recently? Hard water can speed up clogging, so using filtered water might save you time and effort.
Needle Damage
Needle damage is less common but more serious. Bent or broken needles can puncture K-Cups incorrectly or cause leaks. If your needle looks misshapen or doesn’t pierce the pods properly, it’s time to replace it or get professional help.
Handling the needle with care during cleaning is key to avoiding damage. If you’ve ever pushed too hard or used sharp tools, you might have accidentally bent the needle. Think about how you clean it: could a gentler approach protect this delicate part better?
Maintaining Your Keurig Machine
Maintaining your Keurig machine is key to enjoying fresh coffee every day. A clean machine brews better and lasts longer. Regular care prevents clogs and keeps flavors pure. Simple maintenance tasks protect your investment and save repair costs.
Regular Descaling
Mineral buildup can block your Keurig’s needle and water lines. Descaling removes these deposits and improves brewing. Use a descaling solution or vinegar for best results. Run the descaling cycle every three to six months. Follow these steps:
- Empty the water reservoir.
- Fill it with the descaling solution.
- Run the brew cycle without a K-cup.
- Repeat until the reservoir is empty.
- Rinse the reservoir and run fresh water cycles.
Descaling keeps the needle clean and ensures smooth water flow. It helps avoid weak coffee and machine damage.
Proper Storage
Store your Keurig in a dry, cool place to prevent damage. Avoid humid areas where mold can grow. Empty the water reservoir if you won’t use the machine for days. Clean the needle with the maintenance tool before storing. Cover the machine to keep dust out. Proper storage keeps your Keurig ready for use and extends its life.

Credit: www.ledgercrafter.in
Frequently Asked Questions
How To Clean Keurig Needle Maintenance Tool?
To clean the Keurig needle maintenance tool, first unplug your machine. Remove the tool and rinse it under warm water. Use a soft brush to remove any coffee grounds. Dry it completely before reinserting. Regular cleaning ensures optimal performance and extends the lifespan of your Keurig machine.
Why Is My Keurig Needle Clogged?
A clogged Keurig needle is often due to coffee grounds or mineral buildup. Regular cleaning prevents clogs and maintains smooth operation. Use the maintenance tool to clear blockages. Regular descaling and cleaning help to avoid clogging issues. Always follow the manufacturer’s instructions for cleaning and maintenance.
How Often Should I Clean Keurig Needles?
It’s recommended to clean Keurig needles every 1-2 months. Regular cleaning prevents clogging and ensures optimal brewing performance. Frequent usage might require more frequent cleaning. Regular maintenance extends the machine’s lifespan and enhances coffee taste. Always check your user manual for specific cleaning recommendations.
Can I Use Vinegar To Clean Keurig Needles?
Yes, vinegar is effective for cleaning Keurig needles. Mix equal parts water and vinegar. Run the solution through your machine to remove mineral buildup. Rinse thoroughly with water afterward. Regular vinegar cleaning helps maintain your Keurig’s efficiency and prolongs its lifespan.
Always follow the manufacturer’s guidelines for cleaning.
Conclusion
Cleaning your Keurig needle maintenance tool keeps your coffee fresh. Regular care stops clogs and ensures smooth brewing. Use simple tools like a paperclip or brush to clean the needle. Make it a habit to clean after every few uses.
This small step saves time and money on repairs. Enjoy better coffee with a clean machine every day. Keep your Keurig working well with easy needle maintenance. Simple care leads to great coffee moments.