Are you tired of feeling stuck when it’s time to replace parts or fix something important? Having the right maintenance tool list can make all the difference.
With the right tools at your fingertips, you’ll save time, avoid frustration, and get the job done right the first time. You’ll discover exactly how to use a maintenance tool list to replace items easily and confidently. Keep reading, and you’ll gain the skills to tackle your next repair like a pro.
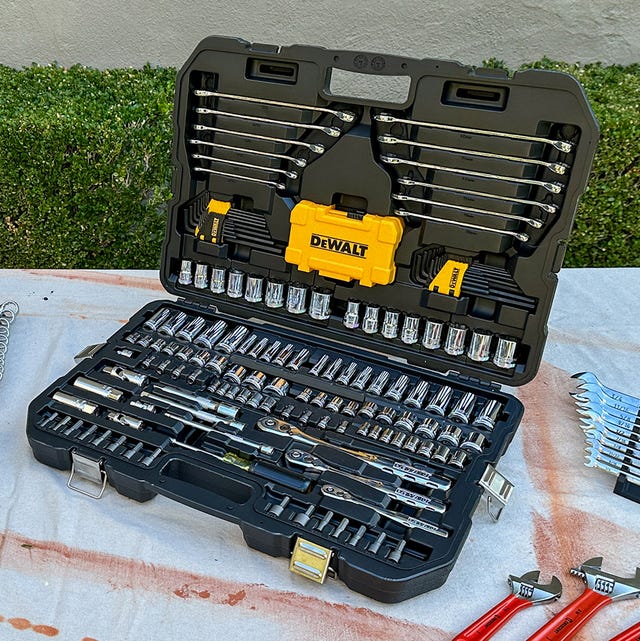
Credit: us.norton.com
Choosing The Right Maintenance Tool
Choosing the right maintenance tool can make all the difference in how efficiently and safely you complete a task. The right tool not only saves time but also reduces the risk of errors and accidents. Understanding the options available and what features matter most will help you pick a tool that fits your needs perfectly.
Types Of Maintenance Tools
Maintenance tools come in various forms, each designed for specific tasks. You have manual tools like wrenches and screwdrivers, which are simple yet effective for small repairs. Then there are power tools such as drills and grinders, which speed up work but require more care during use.
Specialized tools also exist for tasks like electrical maintenance, plumbing, or HVAC repairs. Knowing the type of work you’ll do most often helps narrow down the right tools to keep on hand.
Factors To Consider
Before choosing a tool, consider how often you will use it and the environment you’ll work in. Is the tool durable enough for heavy use? Will it perform well in tight or awkward spaces?
Think about the tool’s size and weight—heavier tools might tire you out quickly. Also, check if replacement parts and accessories are easy to find. Your tool should make the job easier, not harder.
Safety Features
Safety should always be a priority when selecting maintenance tools. Look for features like insulated handles for electrical work or guards on cutting tools to prevent injuries. Some tools come with automatic shut-off systems that stop operation if something goes wrong.
Have you ever experienced a tool slipping or malfunctioning? Choosing tools with reliable safety mechanisms helps avoid accidents. Protecting yourself means you can focus better on the task and finish it smoothly.
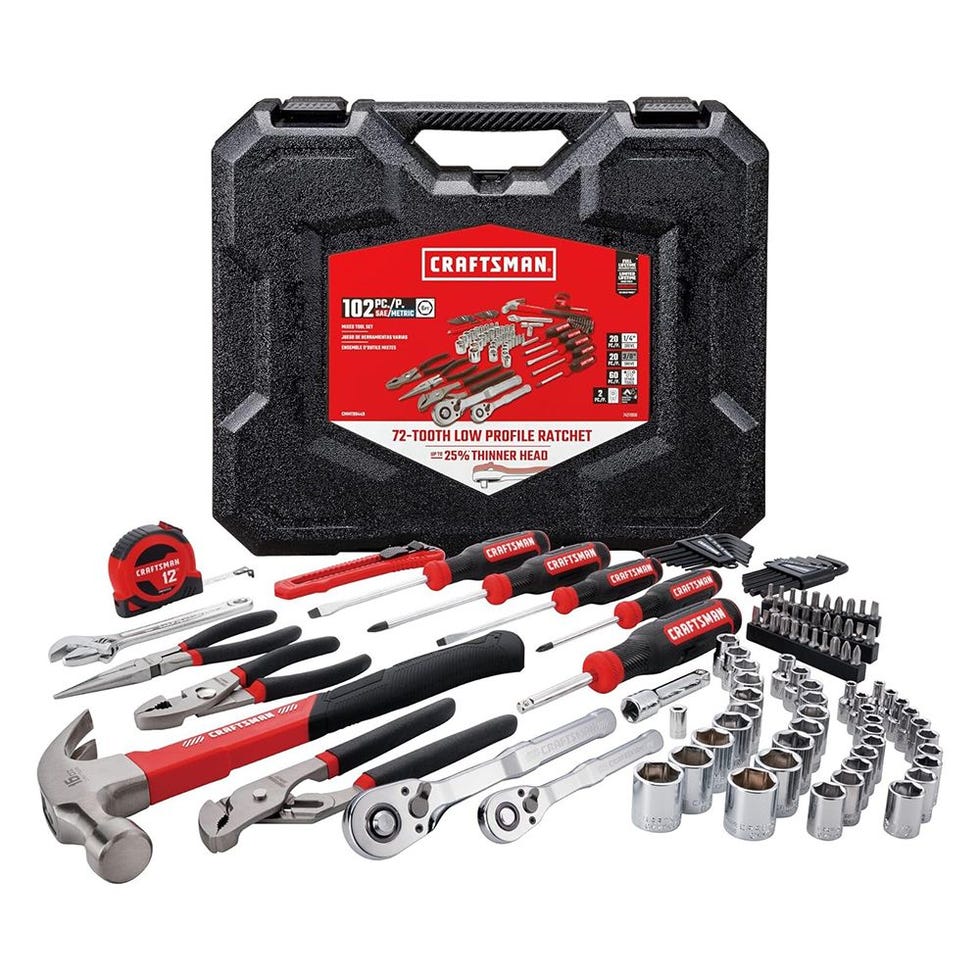
Credit: www.popularmechanics.com
Preparing For Replacement
Preparing for a replacement task is crucial to ensure the process goes smoothly and safely. Skipping this step can lead to wasted time, damaged equipment, or even injury. Taking time to prepare means you’re setting yourself up for success before you even begin.
Gathering Necessary Tools
Start by collecting all the tools you’ll need for the replacement. Missing a key tool mid-task can cause frustrating delays and may even compromise the job quality.
Create a checklist based on the maintenance tool list provided for your specific equipment. Common tools might include screwdrivers, wrenches, pliers, and replacement parts. Double-check the condition of each tool to avoid surprises.
Have you ever started a repair only to realize you don’t have the right screwdriver? Avoid that hassle by preparing your toolkit well in advance.
Reviewing Equipment Manuals
Equipment manuals contain vital instructions and safety warnings that you can’t afford to ignore. They often highlight specific steps or tools needed for replacement that generic guides don’t cover.
Take time to read the relevant sections carefully. Pay attention to diagrams and notes about torque settings, part compatibility, and any special handling instructions.
Skimming the manual might seem like a time-saver, but missing a detail could result in improper installation or damage. Have you checked if your manual is up to date?
Setting Up A Safe Work Area
Creating a safe and organized workspace is essential before you start any maintenance task. A cluttered or poorly lit area increases the risk of accidents.
Clear the space of unnecessary items and ensure good lighting. Lay out your tools in the order you’ll use them to keep the workflow efficient.
Wear appropriate safety gear such as gloves and eye protection. Have you thought about where you’ll place removed parts so they don’t get lost or damaged?
Step-by-step Replacement Process
The step-by-step replacement process helps you change parts safely and correctly. Following clear instructions reduces risks and saves time. Each phase ensures the equipment works well after replacement.
Shutting Down Equipment
Turn off the machine completely. Disconnect the power supply to avoid accidents. Wait a few minutes to let the equipment cool down. Use lockout/tagout tools if available. Safety is the top priority before handling parts.
Removing Old Components
Use the maintenance tool list to find the right tools. Carefully loosen screws, bolts, or clips holding the old parts. Keep removed hardware in a safe place for reuse if needed. Handle components gently to avoid damage. Dispose of old parts properly.
Installing New Parts
Match new parts with the equipment model. Follow the tool list to select the correct tools. Align the new components exactly where the old ones were. Secure parts firmly but avoid over-tightening screws. Double-check all connections and fittings.
Testing The Replacement
Reconnect power and turn the equipment on. Observe for unusual sounds or vibrations. Check if the new parts function smoothly. Run a short test cycle to confirm performance. Stop immediately if any problems appear and recheck installation.
Troubleshooting Common Issues
Troubleshooting common issues during replacement tasks can save time and reduce frustration. Knowing how to spot problems early helps keep tools and equipment in good shape. This section guides you through identifying problems, quick fixes, and knowing when to seek professional help.
Identifying Problems
Start by checking for unusual sounds or smells from the tool. Look for visible damage like cracks or loose parts. Notice if the tool does not operate as smoothly as before. Check power sources and connections for any faults. Pay attention to error messages or warning lights on digital tools.
Quick Fixes
- Clean dust and debris from moving parts carefully.
- Tighten screws and bolts that may have loosened.
- Replace worn-out or damaged blades and filters.
- Reset the tool by turning it off and on again.
- Lubricate parts that seem stiff or noisy.
These small actions often restore function without needing extra help.
When To Seek Professional Help
Call an expert if the tool continues to malfunction after fixes. Avoid using a tool that heats up or sparks. Seek help if internal components need repair or replacement. Ask for professional service for electrical issues or complex problems. Trust professionals to keep your equipment safe and reliable.
Maintaining Tools For Longevity
Maintaining your tools properly can save you time and money in the long run. Tools that are well cared for work better and last longer, making your projects smoother. Taking a few simple steps regularly will keep your tools in top shape and ready whenever you need them.
Regular Cleaning
Dust, dirt, and grease can build up quickly on your tools and cause them to wear out faster. After each use, wipe down your tools with a clean cloth to remove debris. For tougher grime, use mild soap and water, then dry them thoroughly to prevent rust.
Have you ever grabbed a dirty tool only to have it slip or jam? Keeping tools clean not only extends their life but also makes your work safer and easier.
Proper Storage
Where you keep your tools matters a lot. Store them in a dry place to avoid moisture, which leads to rust and corrosion. Use toolboxes or pegboards to keep them organized and prevent damage from being tossed around.
Think about your last search for a misplaced tool—how much time did that cost you? Organized storage saves time and protects your investment.
Routine Inspections
Regularly check your tools for signs of wear or damage. Look for cracks, loose parts, or dull blades that might affect performance. Fix small problems early to avoid bigger, costlier repairs later.
Have you caught a minor issue before it became a major problem? A quick inspection can keep your tools reliable and your projects on track.

Credit: www.youtube.com
Frequently Asked Questions
What Is A Maintenance Tool List?
A maintenance tool list is a curated collection of tools essential for performing various maintenance tasks. It includes items like wrenches, screwdrivers, and specialized tools. Having a comprehensive list ensures efficiency and preparedness in tackling repairs or replacements, making maintenance smoother and more effective.
Why Use A Maintenance Tool List?
Using a maintenance tool list ensures you have all necessary tools for tasks. It enhances efficiency and reduces downtime. A well-prepared list minimizes the risk of forgetting essential tools. This ensures maintenance tasks are completed successfully and on time, leading to better equipment performance.
How To Create A Maintenance Tool List?
To create a maintenance tool list, first identify the tasks you need to perform. Then, list the tools required for each task. Organize tools by category for easy access. Regularly update the list as tasks and tools change. This keeps your maintenance process efficient and effective.
What Common Tools Are On A Maintenance List?
Common tools on a maintenance list include wrenches, pliers, screwdrivers, and hammers. Additionally, it may feature electric drills, saws, and measuring tapes. These tools are essential for basic repair and replacement tasks. A well-rounded toolkit ensures you’re prepared for various maintenance challenges.
Conclusion
Replacing parts with a maintenance tool list saves time and effort. It helps you stay organized and avoid mistakes. Always follow the steps carefully for best results. Keep your tools ready and check each item before use. Regular maintenance extends the life of your equipment.
Stay consistent and you will see fewer problems. Simple tools and clear steps make the process easy. Trust the list to guide you through each replacement. This way, you keep everything working smoothly and safely.